1899 episode 4 recap: “The Fight”
The fourth episode opens with a flashback of Jérôme and Lucien deserted in the desert. This scene gives us a backstory on Jérôme and Lucien’s prior relationship. Based on the scene, Jérôme and Lucien used to serve in the army/military, but their mission ends badly with everyone dead except them. To protect themselves, Lucien comes up with a plan to take a dead lieutenant’s clothes and pretend to be him while Jérôme pretends to be the person who saved him. However, Jérôme disagrees with Lucien’s plan and tells him. Lucien acts like he’s not going to go through with the plan but then takes out his gun and points it at Jérôme.
Then, the episode cuts to the present time with Jérôme lying on the ground inside a room and Maura’s voiceover telling him to wake up. Franz and other crew members enter the room and summon Jérôme and Olek. They bring them to the ship’s main deck and tell them to throw dead bodies overboard. Throughout the rest of the ship, passengers are pushed into their cabins by crew members. Later, Franz discovers that the Prometheus is no longer attached to the Kerberos. He also finds out that the compasses are back working, and the ship is back in the position of heading west.
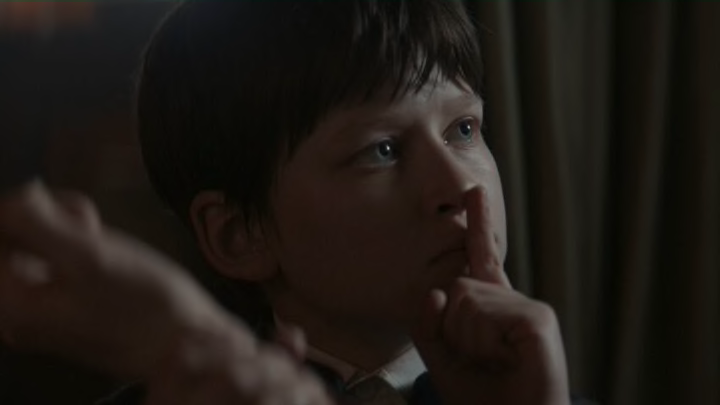
Elsewhere, the third class discovers that the boy is the cause of all the odd things happening on the ship. With this new information, they decide to find the boy and kill him. Back in Lucien and Clémence’s room, Lucien shows Clémence the potassium bromide he’s been taking to help with the seizures. Lucien also tells Clémence that he’s dying and doesn’t know how much time he has left. He then digs into a drawer and finds the lieutenant badge he gave Jérôme a long time ago. Now Lucien knows that Jérôme is somewhere on the ship.
The third class finally finds Maura and breaks into her room to find the boy, but he isn’t there. After they leave, Maura hears a knocking sound coming from under her bed. She moves the bed and finds a shaft similar to the one on the Prometheus. She opens it and finds the boy. Meanwhile, Daniel messes with the steam pressure console on the ship, and Jérôme tries to escape from several crew members. Jérôme makes his way to Clémence and Lucien’s room and talks to Clémence.
Back in Maura’s room, Maura questions the boy about the shaft, but he doesn’t answer her. As Maura tries to pick the lock to her room, the boy takes a green beetle out of his pocket and uses it to open the door. Meanwhile, Clémence, Jérôme, Eyk, and Ramiro band together to find a lifeboat to travel to the Prometheus. Eyk hopes that he can fix the telegraph on the Prometheus so that he can call for help. Maura and the boy meet up with them as they try to get the lifeboat and throw it into the ocean. But, Krester, Franz, and several other crew members find them and try to take the boy.
The boy surrenders as Jérôme reaches for a hammer on the ground. Franz shoots Jérôme in the arm before escaping with the boy. Then, Jérôme has a flashback to the day Lucien betrayed him. In the flashback, we see Lucien knock Jérôme out and then leave him to return to France disguised as a lieutenant.
Elsewhere, Tove comes to her senses and decides not to participate in throwing the boy overboard. As the third class is about to throw the boy off the ship, Maura and the others try to stop them. While a fight breaks out between the two groups, Iben pushes the boy off the ship into the ocean. As Maura and the others retreat, Lucien sees Jérôme and Clémence in an intimate embrace. He approaches with his gun pointing at Jérôme and then takes Clémence back to their room.
Back inside the ship, Maura and the others patch up their wounds from the fight. Eyk approaches Maura and tells her he needs to talk to her. He asks Maura why her name was on the passenger list of the Prometheus, but she’s unable to answer him because a noise coming from a cabinet interrupts their conversation. The cabinet opens and the boy comes out with his pyramid. The episode comes to a close, with the boy hugging Maura while everyone else looks shocked.
Written by Crystal George
